How I've built a Laptop for Automotive Diagnostics for 130$
Éric Philippe
Full-Stack Developer & Designer
The Journey of Building a Diagnostic Laptop from Broken Parts
Sometimes the best projects start with a simple family need. My relative, who does car mechanics on his free time, needed a reliable way to diagnose automotive issues. Professional diagnostic tools are expensive, and the laptops that come with them? Even more so. That's when I thought: "I could build one myself, right? Right ?"
Spoiler alert: harder than expected, but definitely worth the learning experience.
The Requirements Hunt
Before diving into any project, I always start with clear requirements. For this automotive diagnostic laptop, the needs were straightforward but specific:
- Windows 10 compatibility (most diagnostic software is picky about this)
- Portable and lightweight (nobody wants to lug a 17-inch gaming laptop into a garage)
- Quick boot times (would like to avoid waiting 10 minutes for diagnostics)
- Decent battery life (would be sad if it dies mid-diagnosis)
- Solid specs: Intel i3 or better, 8GB RAM, SSD storage
- Budget-friendly (the whole point was avoiding expensive commercial solutions)
After some Reddit research, I landed on two solid candidates: older Dell XPS 13s and Lenovo ThinkPads (L470, T480, T490, T470s). While Acer and Asus had cheaper options, they felt too fragile for garage environments. ThinkPads have that legendary durability reputation for a reason.
The First Purchase (And First Mistake)
I found a Lenovo ThinkPad L470 on Leboncoin for 70$. The seller mentioned "booting issues," but at that price? I figured worst case, I'd learn something new taking it apart. Famous last words.
When it arrived, I immediately noticed the keyboard was QWERTY instead of AZERTY. No problem – ordered a replacement from AliExpress for 16$, along with the diagnostic tool (40$).
The real fun started when I tried to install Windows 10. Remember those "booting issues"? They weren't kidding. The laptop would get stuck on the Lenovo logo screen, refusing to go further. No BIOS access, no nothing.
Down the Rabbit Hole
What followed was every tech enthusiast's nightmare and dream rolled into one. I tried everything:
- CMOS battery reset
- Removing every component one by one (SSD, RAM, battery, keyboard)
- Sacrificing a small prayer to the laptop gods
Nothing worked. I felt pretty foolish staring at this expensive paperweight.
The Pivot Strategy
Rather than admit defeat, I decided to double down. I already had the replacement keyboard and diagnostic tool on the way, so why not find another L470 to act as a donor?
Found one on eBay for 46$ – broken keyboard (perfect!), missing SSD and battery (I had those!), but with proof it could at least reach BIOS. Sometimes the best deals come from other people's problems.
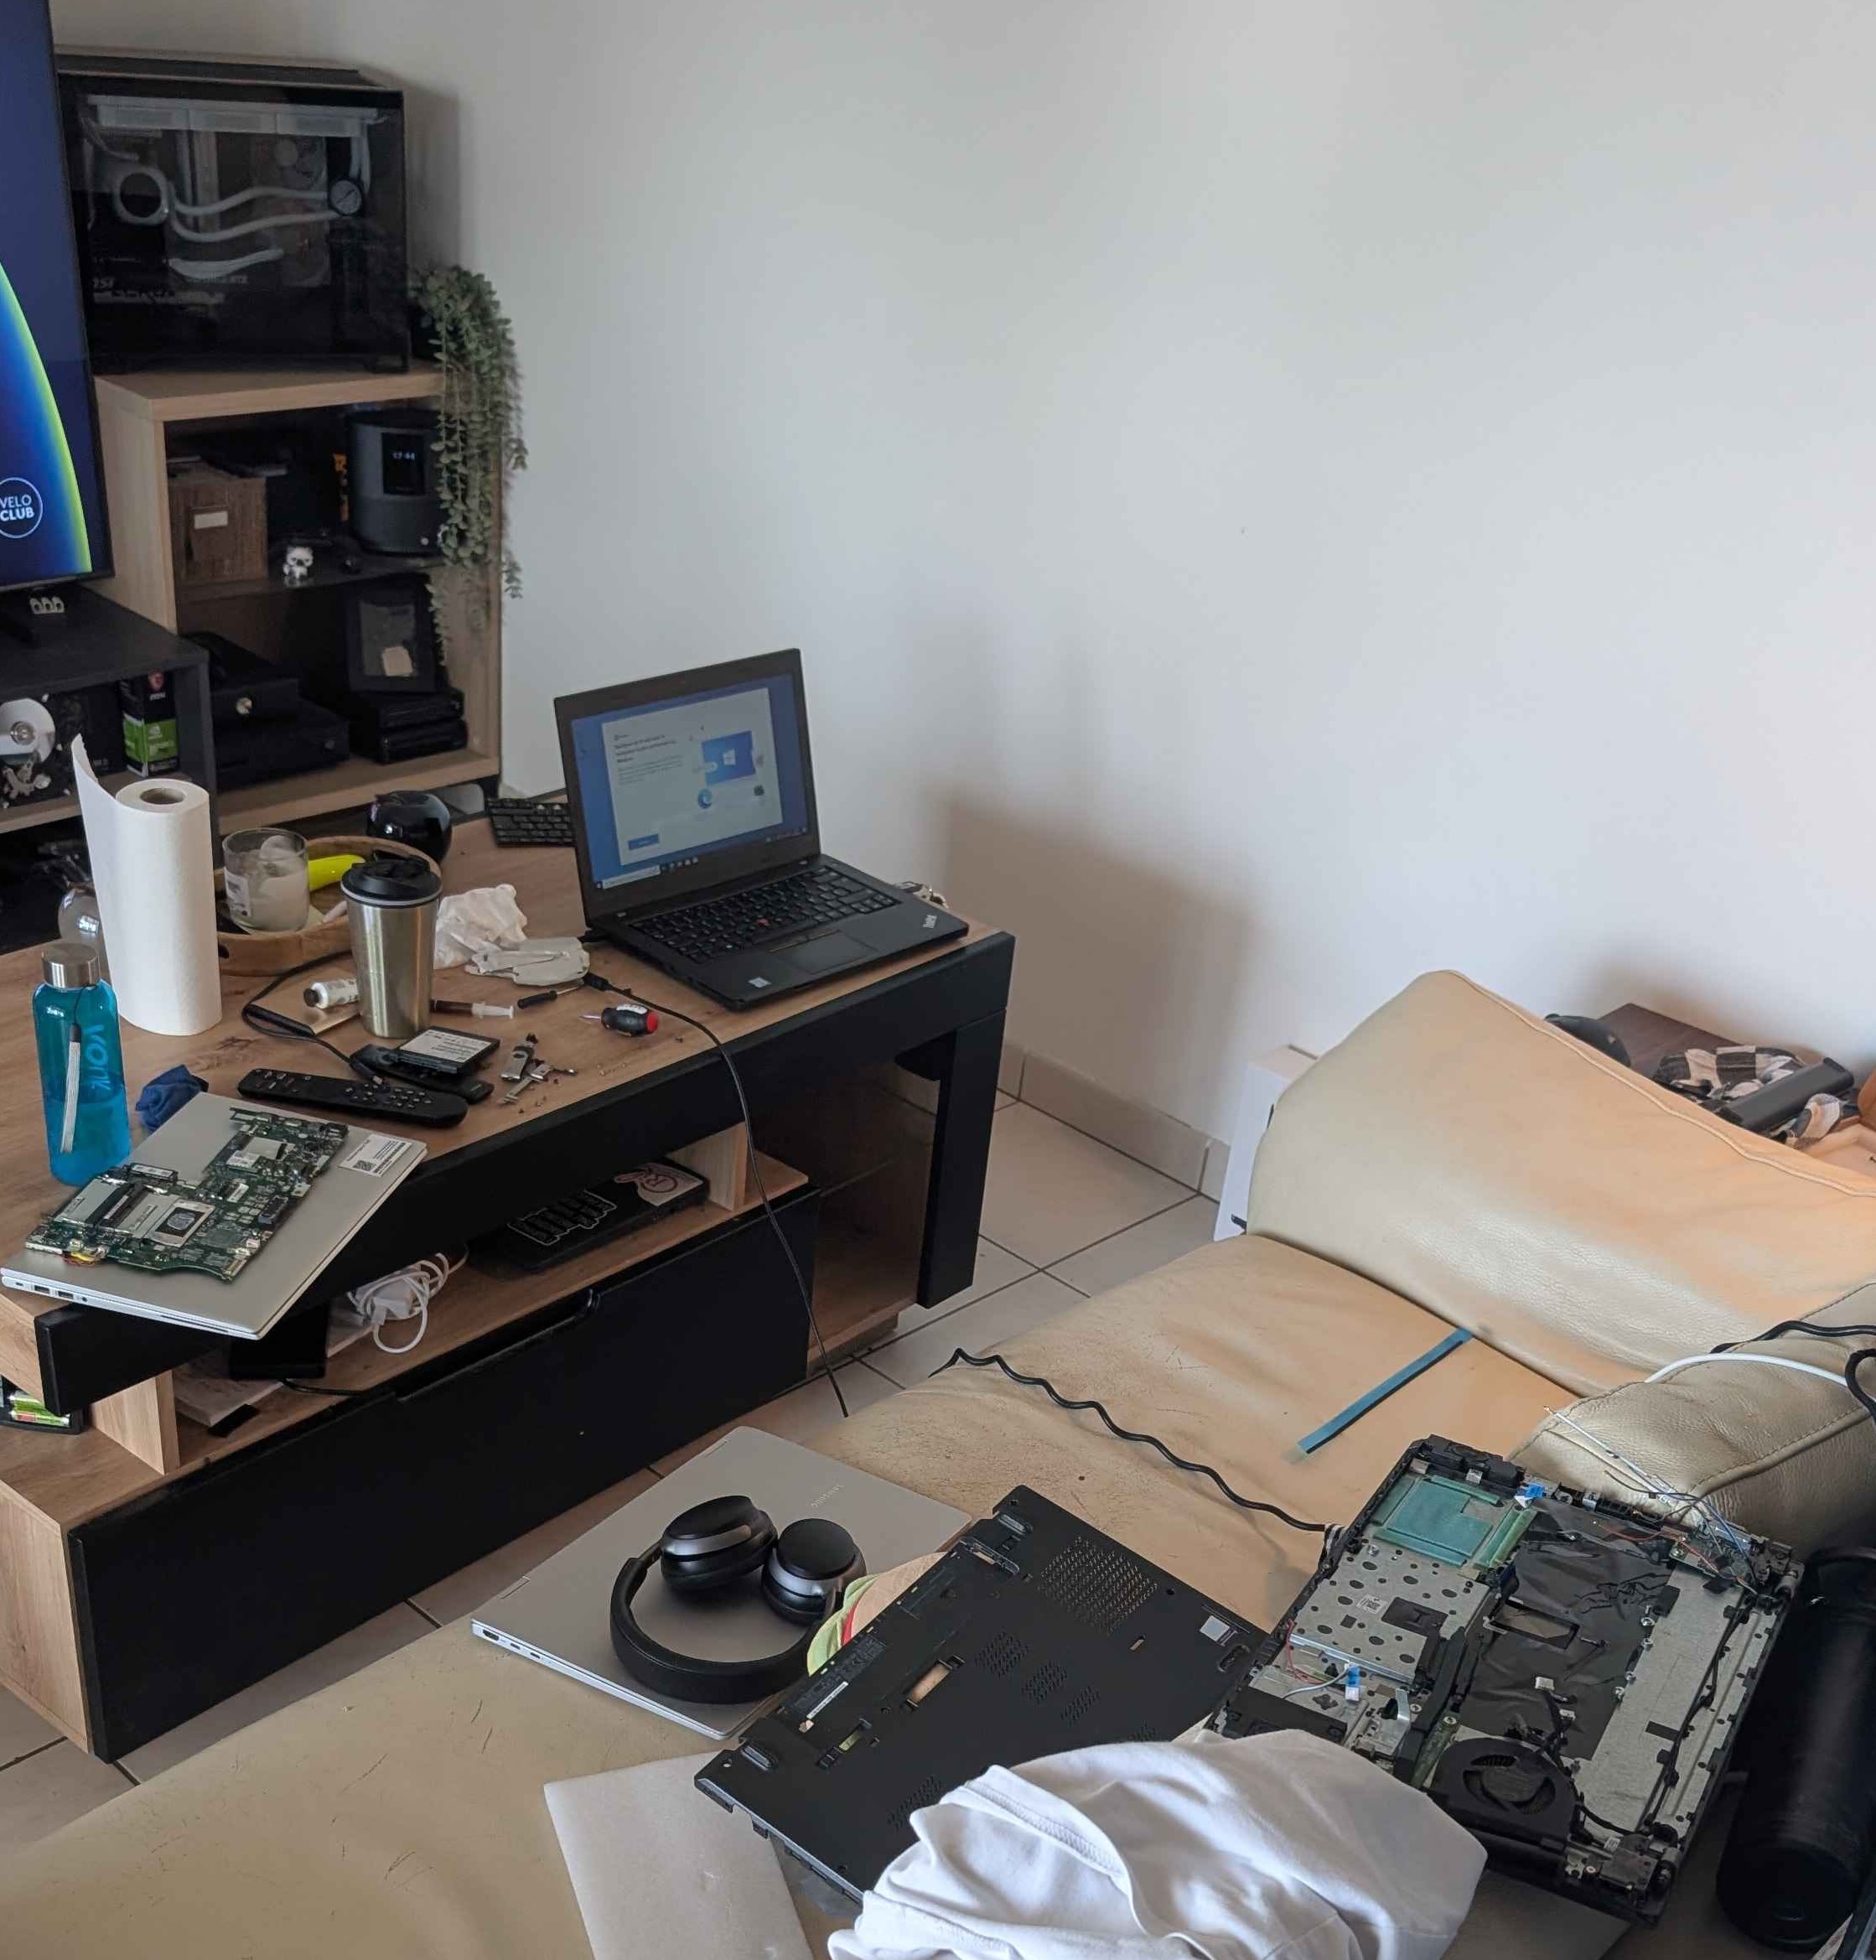
The Frankenstein Build
When the second laptop arrived, I had an interesting situation: two broken laptops that, between them, had everything I needed. Time for some laptop surgery.
I started the transplant process:
- Cleaned the second laptop thoroughly
- Swapped in the new AZERTY keyboard
- Moved the SSD and RAM from the first laptop
- Crossed my fingers and powered it on
Windows 10 installed perfectly! But of course, there was another plot twist...
The Trackpad Nightmare
Everything worked except the trackpad and trackpoint. Both completely unresponsive. I spent hours diving into driver hell – updating, reinstalling, even flashing the BIOS from 2017 to 2023. Nothing.
The solution required more surgery. I had to harvest the trackpad from the donor laptop, which meant completely disassembling it. And of course, the trackpad was located in the most inconvenient spot possible – under the motherboard.
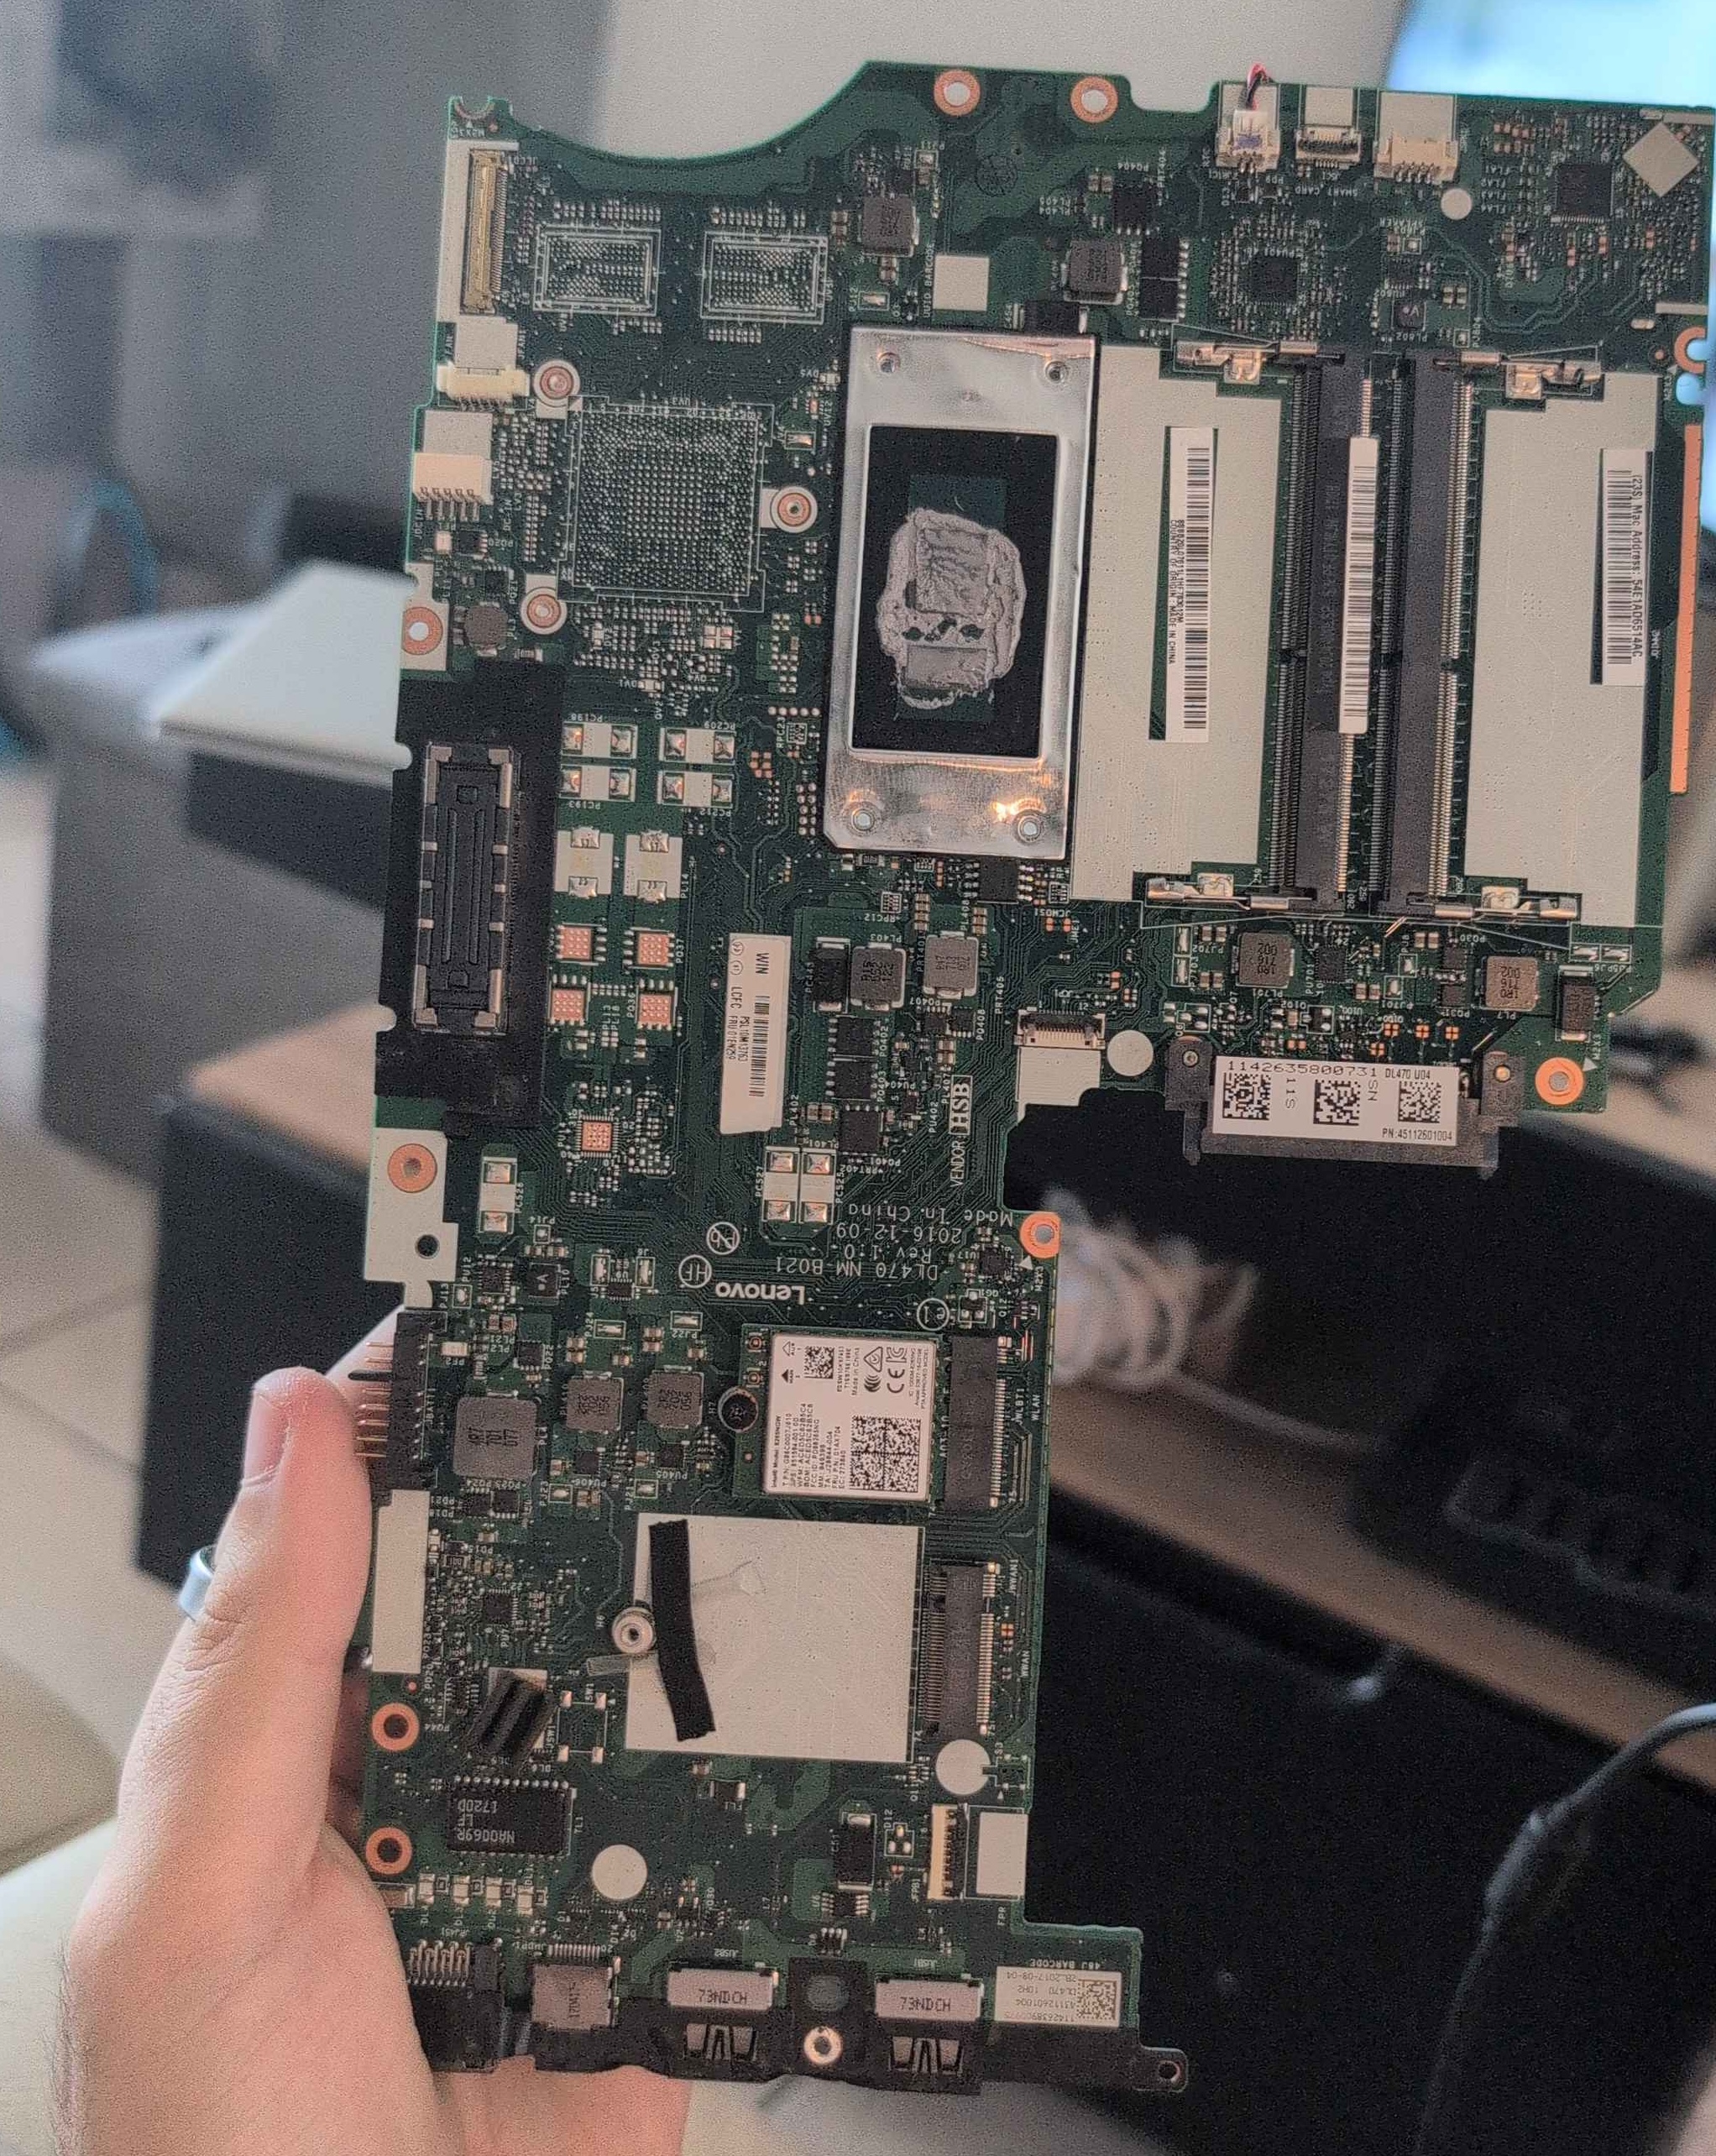
The Breakthrough (And Near Disaster)
Getting the trackpad out was like performing microsurgery. But when I plugged it in – success! The trackpad worked perfectly.
So, I've tried to install it properly on the receiver and ... that's when I made a mistake: I damaged the FFC (Flexible Flat Cable) connector and reassembled everything before testing properly.
The touchpad worked for exactly 5 minutes before dying. Worse, the laptop wouldn't even boot anymore. I thought I'd killed it completely.
The Save
After taking a break (and questioning my life choices), I made a crucial discovery while fidgeting with the broken trackpad: the FFC cable was removable! I could simply swap the cable from the donor trackpad to the working one.
One more disassembly later, everything worked perfectly. The trackpad, the trackpoint, everything. It turns out the trackpad and trackpoint are interconnected – fix one, fix both.
The Final Touches
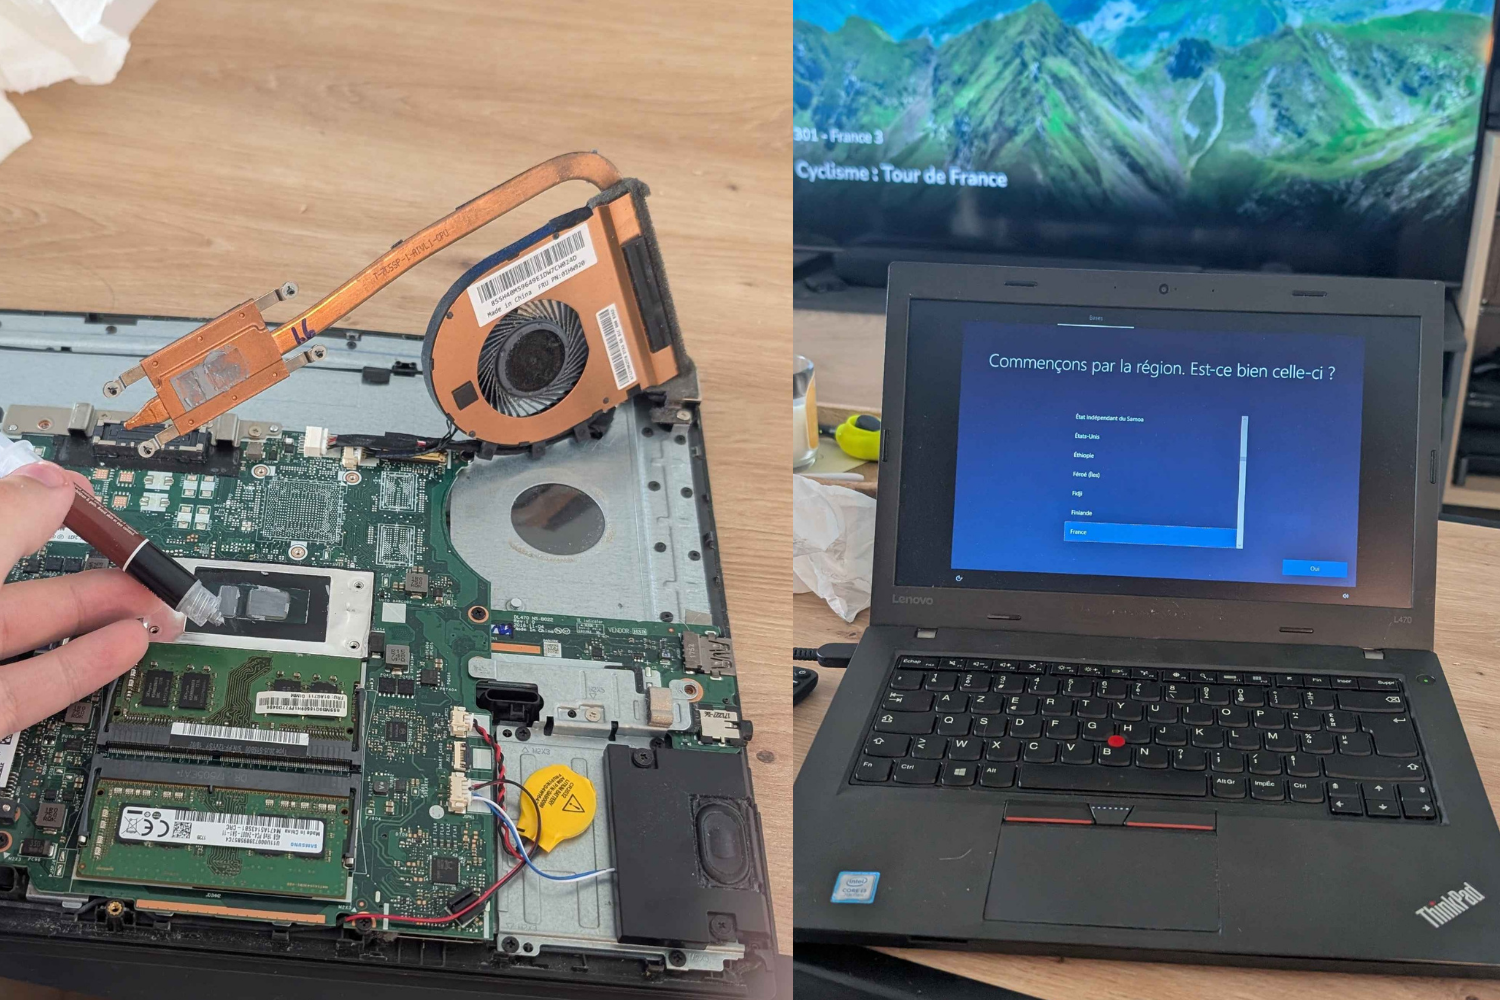
With the hardware finally stable, I completed the build:
- Installed additional RAM from the donor laptop (bringing it to 12GB total)
- Applied fresh thermal paste
- Cleaned the fans
- Reinstalled Windows 10 with proper debloating scripts
- Set up the diagnostic software
The Moment of Truth
Everything looked perfect. Time to test the diagnostic tool. I plugged it into the laptop and... nothing. No detection whatsoever.
After nearly tearing apart the diagnostic tool (and almost breaking it), I realized my mistake: these tools need to be connected to BOTH the laptop AND a car's OBD port to function properly.
Picture this: me at 10 PM, in pajamas, trudging out to my car with a laptop. Fighting with my Renault's stubborn plastic OBD port cover. Finally making the connection and seeing that beautiful "Device Connected" message.
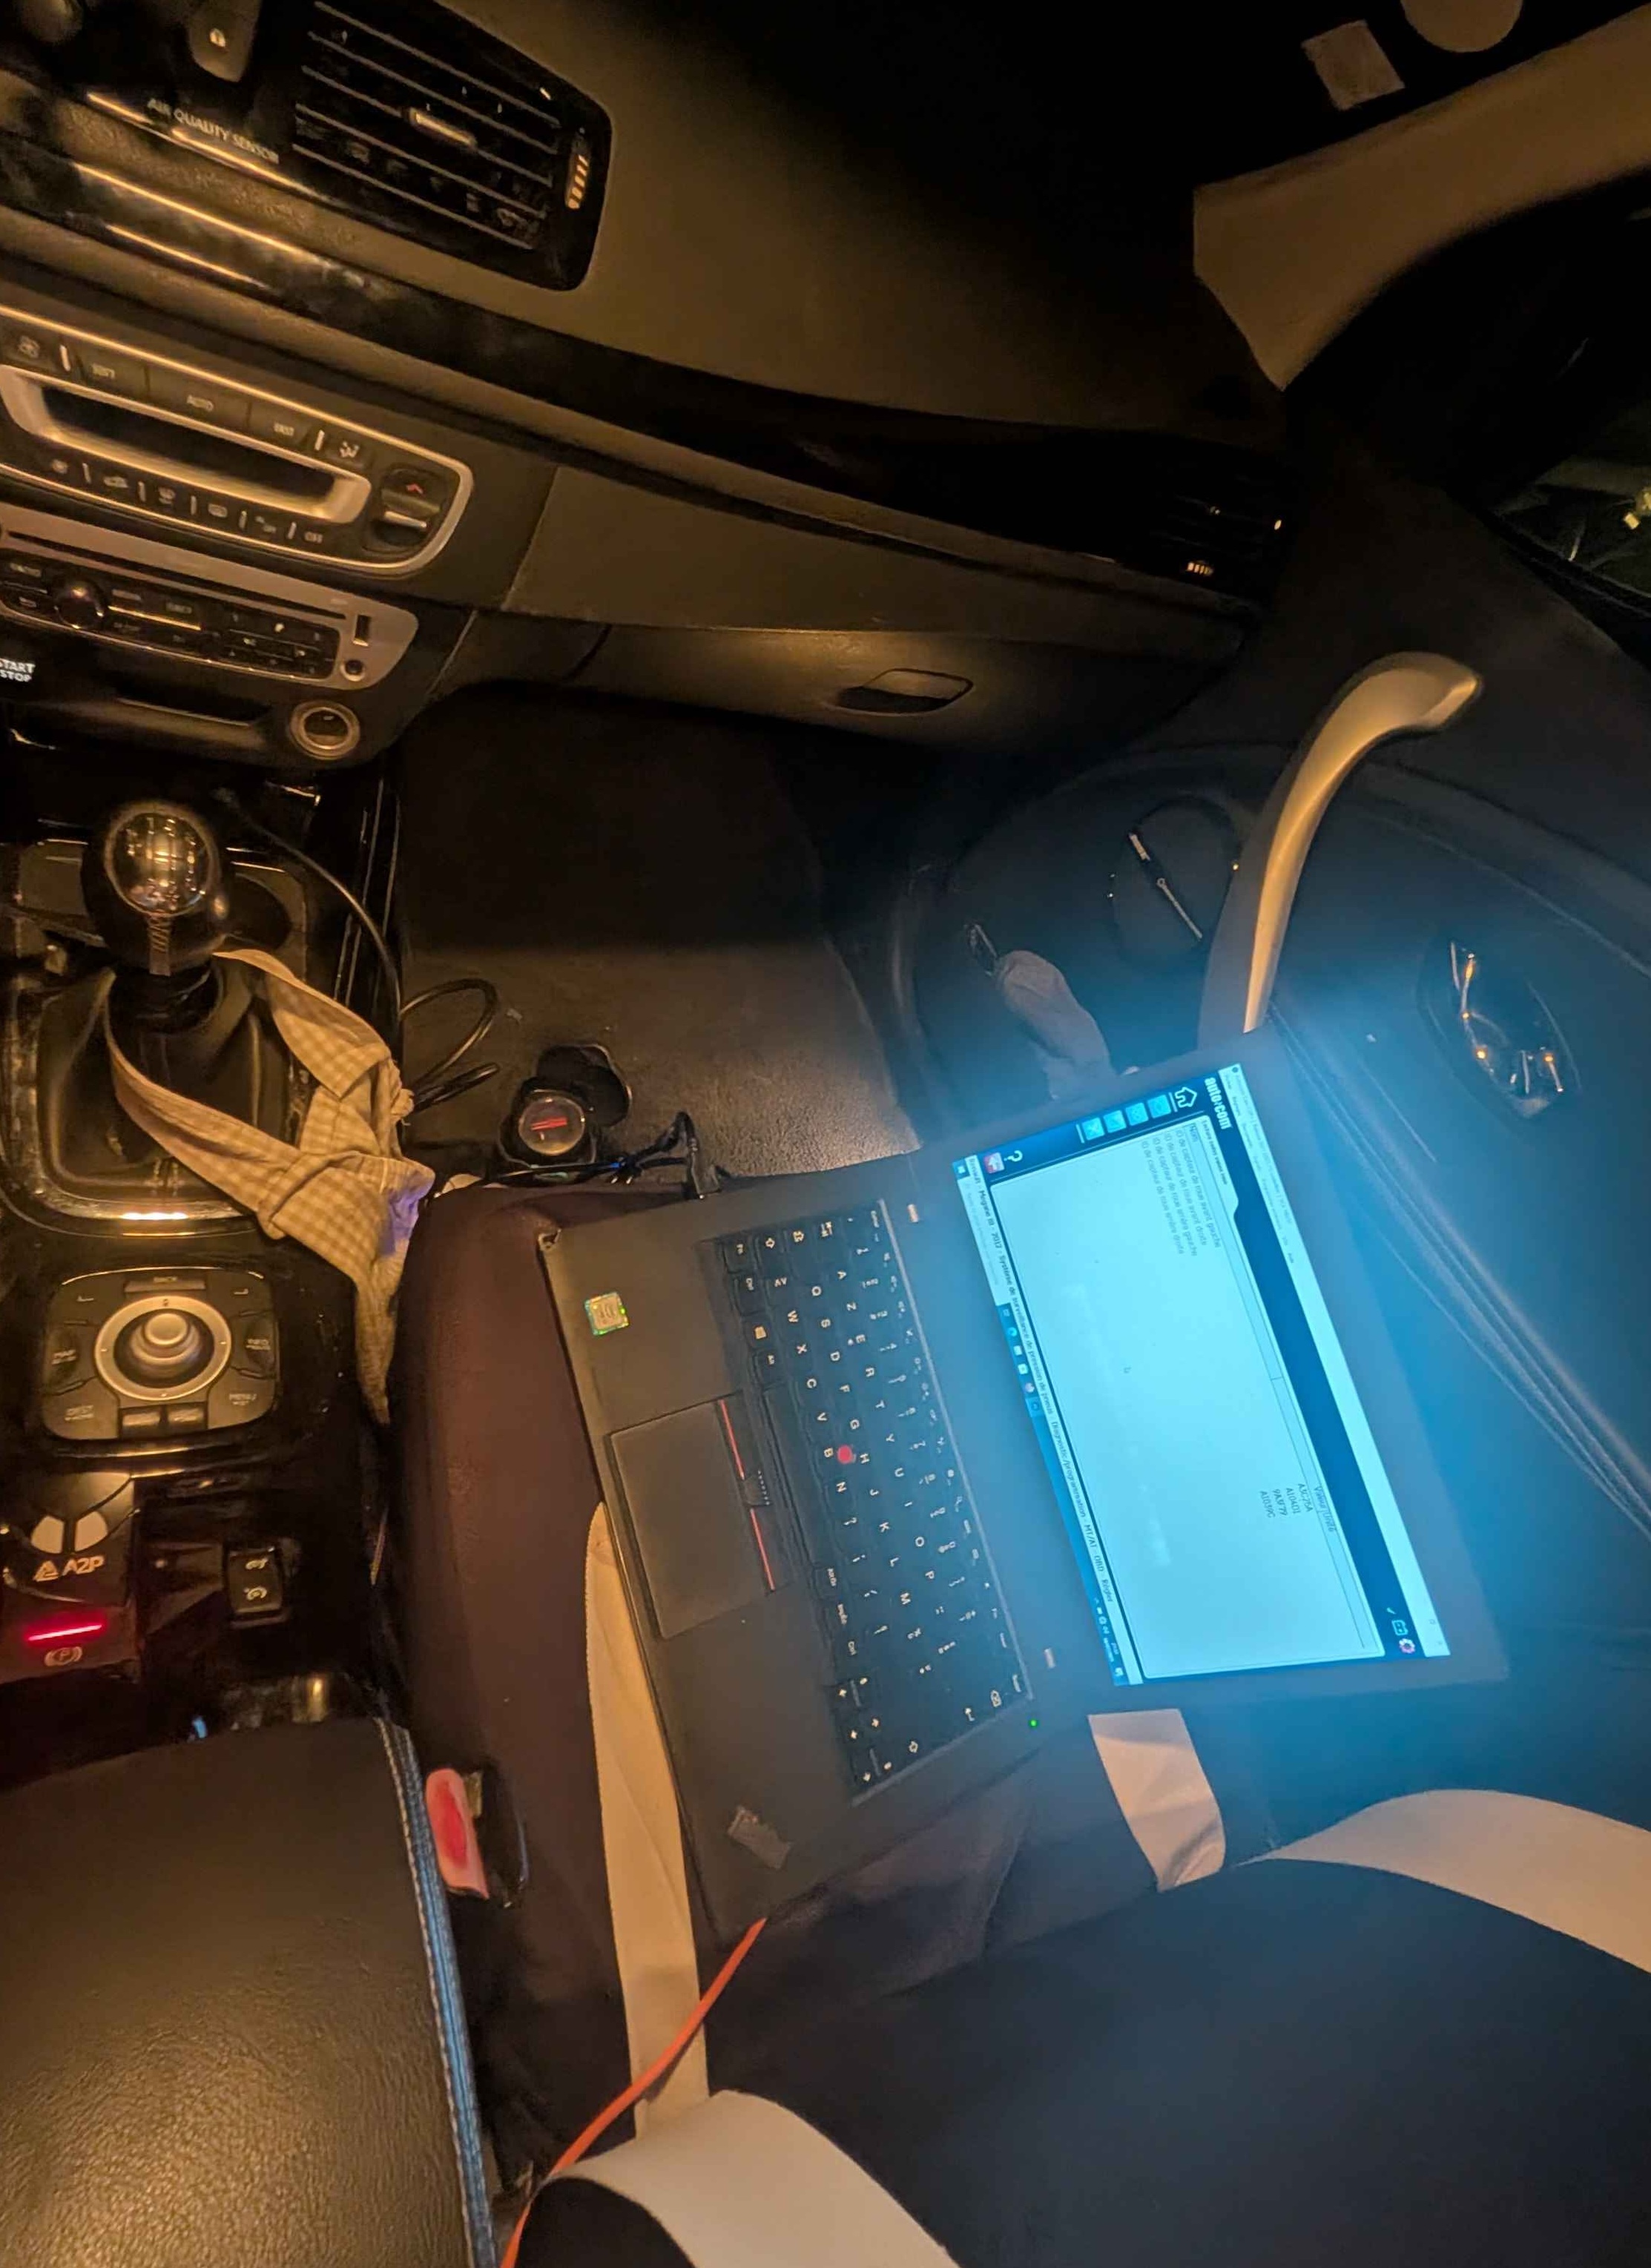
(Side note: discovered two error codes on my car. That's another story.)
The Final Specs
After all the drama, sweat, and near-disasters, I ended up with a surprisingly capable machine:
- 12GB RAM (upgraded from original 8GB)
- Intel i3 7th generation (perfectly adequate for diagnostic work)
- 256GB SSD (lightning-fast boot times)
- 3-second boot time (from power button to desktop)
- 3.5-hour battery life (plenty for field work)
- Fully functional keyboard and trackpad
- Frankenstein heritage from two donor laptops
The Software Setup
I kept the software environment clean and purpose-built:
- Debloated Windows 10 (removed all unnecessary Microsoft bloatware)
- LibreOffice (for documentation and reports)
- Firefox (reliable and lightweight)
- Quick access shortcuts to ChatGPT and YouTube (for quick diagnostics research)
- Marketplace bookmarks (LeBonCoin, eBay, and others for parts hunting)
The Bottom Line
Total cost: 132$ (70$ + 46$ + 16$) plus 40$ for the diagnostic tool.
What started as a simple "buy a cheap laptop" project turned into an education in laptop repair, component compatibility, and the value of persistence. I learned more about ThinkPad internals than I ever expected, gained confidence in hardware troubleshooting, and ended up with a perfectly functional diagnostic setup.
Lessons Learned
- 1Always test before reassembling – that 5-minute working period taught me this the hard way
- 2Research component interdependencies – trackpad and trackpoint aren't always separate systems
- 3Keep detailed documentation – when you're swapping parts between machines, notes are crucial
- 4Don't panic when things break – sometimes the solution is simpler than you think
- 5Budget for the unexpected – even "simple" projects can require creative solutions
Would I do it again? Absolutely. The combination of problem-solving, hands-on learning, and the satisfaction of breathing new life into discarded hardware made this one of my favorite projects.
Plus, my relative now has a reliable diagnostic setup that cost a fraction of commercial alternatives. Sometimes the best solutions come from a willingness to get your hands dirty and think outside the box.
Have a similar project in mind? Feel free to reach out – I'd love to hear about your hardware adventures or help troubleshoot if you're stuck in a similar situation.